


If you're an individual course creator who wants to start issuing NFTs for your courses, then this guide is for you.
Quick Summary
In Part One of this flow (for University Professors), we generated an NFT for each student who attended a course and passed the exam. This Part of the tutorial will be helpful for you if you’re planning on creating an online course for anything that you’d want to teach people and then send them Proof of Completion certificate in the form of an NFT upon completion.
Let’s get started!
How will this work?
You will set up an online course.
Once someone attends your course, completes your assignments, and passes, our flow will generate a certificate for that person & then the certificate will be minted as an NFT with relevant metadata and sent to their email address.
Requirements
- A premium Zapier account (for integrating and automating)
- A Thinkific account (for setting up an online course)
- An Accredible account (to issue certificates)
- A Crossmint account (to generate a wallet and mint an NFT)
Step 1: Thinkific
Thinkific is a learning management solution (LMS) that enables people to create their own online courses. It provides all the tools that a course creator requires to make and launch courses. Thinkific also integrates with Zapier, allowing you to link your Thinkific account with Zapier, Accredible, and Crossmint to instantly issue certificates to anyone who completes your course.
If you prefer to use a different platform, you can choose from the following list of platforms that have integrations with Zapier. The flow would be very similar for all these platforms:
Let's get started.
1.1: Creating Your Course on Thinkific
Thinkific offers a comprehensive guide on creating your own course. You can follow the instructions at https://support.thinkific.com/hc/en-us/articles/360030371674-Create-a-Course to get started.
1.2: Generating an API Key for Thinkific
Once you've created your course:
1. Log in to your Thinkific dashboard.
2. Go to Settings > Code & Analytics > Subdomain > Reveal Key > Copy and save the key for the Zapier flow.
Step 2. Accredible
Accredible is a digital credentialing platform that can be used to generate digital certificates.
2.1 : Creating a certificate template in Accredible
To create a certificate template in Accredible, follow these steps:
1. Log in to your Accredible account and click "Groups" in the left-hand menu. Then, click "Create Group" at the top of the page.
2. Enter details for your certificate group, such as a name and description. Under "Group Appearance," click "Select Certificate."
3. You will be taken to the certificate designer page. Here, you can choose a template to get started or design your own certificate from scratch. Select a template or layout, and add graphical and text elements to design your certificate.
4. Once you've designed your certificate, give it a name, and click "Save" at the top of the page. Your certificate template will now be saved and can be issued to students.
2.2: Generating an Accredible API key
We have successfully created a certificate for Accredible. To integrate it with Zapier, we need an API key. Follow these steps to obtain it:
1. In the left menu, go to "Settings" > "General Settings" > "Manage API Keys" > "Add API Key".
2. Enter a name for your API key, select "Account Wide" for permissions, and click "Add Key". Copy and save the key to use with Zapier later.
Once you have set up an API key and certificate template, you can issue digital certificates to your students through Zapier.
Step 3. Crossmint setup
Crossmint enables us to create, distribute, and store NFTs. To begin, we need to generate an API key to connect Crossmint with Zapier.
Follow these instructions to obtain the API keys:
1. Go to your Crossmint Dev Console > API Keys > New API Key > Select “nft.mint” scope > Create API Key
2. Save the "client secret" and "Project ID" for later use.
Step 4. Automating everything with Zapier
We will be using Zapier to connect all the things we did above and automate things.
Start by Creating a new Zap, give it a name that you’d like and then follow the following steps :
4.1. Thinkific - Setting up our trigger
We first need to add a Trigger to our Zap & tell it to only run the Zap whenever anyone completes a course.
1. Select "Thinkific" from the Action popup.
2. For the Event input, choose “Course Completed” from the dropdown.

3. Now, connect your Thinkific account using the API key we generated above.
4. Finally, choose a Course you have created on Thinkific from the suggestion dropdown. You can add multiple courses here too.
5. Click continue and test the action. Zapier should have fetched the details of your course.
4.2. Accredible - Generating a certificate
After a student successfully completes the course, the following steps will enable us to generate a certificate for them:
1. Select "Accredible Certificates" from the Action popup.
2. In the Events section select "Create Credential."
3. Connect your account with Zapier by adding the API key that we generated above.
4. In the Actions section, add the following:
- Cohort Name: Choose the name of the group we created for our Accredible account in the previous step from the dropdown here.
- Recipient Name: Select “User First Name” from the Thinkific suggestions here.
- Recipient Email: Select “User Email” from the Thinkific suggestions here.
- Course Name: Type the name of your course here.
- Course Description: Describe your course here in a few lines.
- Issue Date: Selected “Completed” from Thinkific suggestions here.
- Click continue and test the action.
After doing the above steps, we should be able to generate a certificate using Accredible.
4.3. Crossmint - Minting the certificate
Finally, we’d need to mint the certificate to the email address of the user who completed our course. To do this follow the steps below :
1. Select "Crossmint" from the Action popup.
2. In the Event’s section select "Mint an NFT".
3. Connect your Crossmint Account with Zapier by adding the API key we generated before.
4. Now in the Actions section do the following :
- Collection ID: Select the name of the collection from the dropdown. This might be default right now but, It is recommended to create an NFT collection from your Crossmint dashboard so that there is an NFT collection for our certificates that we’ll be issuing.
- Chain : You can choose either Polygon or Solana for this. To keep the cost low, in this tutorial we’ll be using Solana with compression enabled.
- Mint to : Select “email” here
- Email or wallet address : Select “User Email” from the Thinkific suggestions dropdown. This will mint the NFT to the email address of the User who completed our course.
- Title : Type the name of your course here or select it from the Thinkific suggestions dropdown.
- Image URL : Select Accredible's "Credential Certificate Image Preview" response to ensure the NFT is minted with the certificate image generated in the previous step.
- Description : Type the course description or select it from the Thinkific suggestions dropdown.
- Additional metadata: This section stores key value pairs of information in an NFT’s metadata. We will include the name and email of the person to whom the NFT was issued. You may add more details, such as grades or skills, as desired.
- Use compression technology (advanced) (Solana only) : Set this to “Yes”. This will help you to keep the cost low. Read more here - https://docs.crossmint.com/docs/mint-compressed-nfts
- Click continue and test the action.
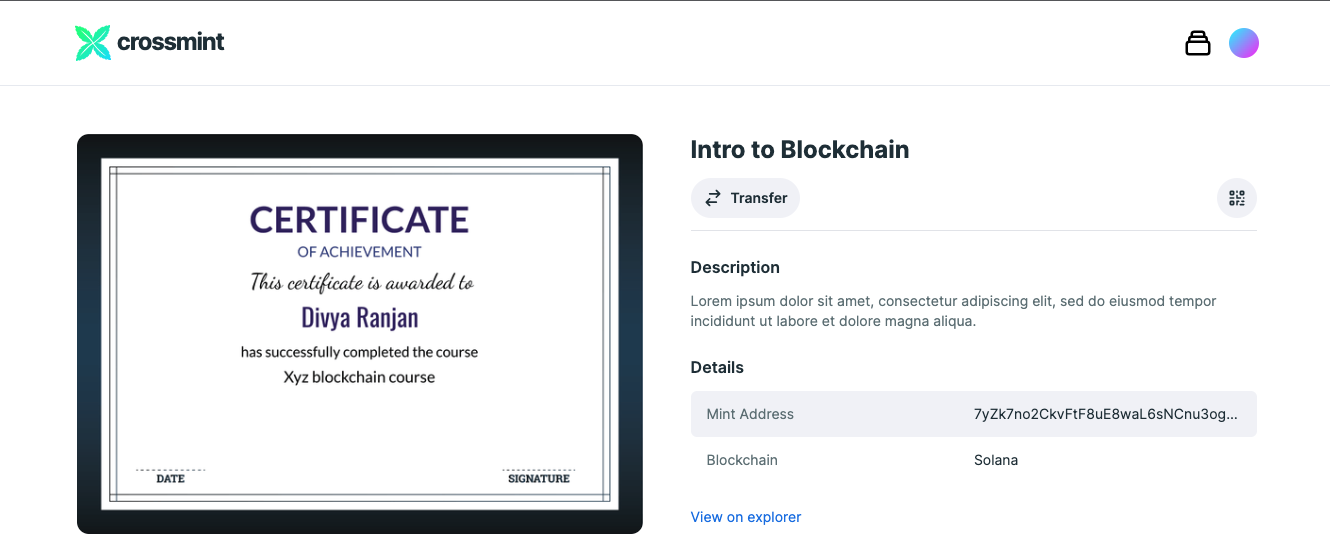
Our NFT is now minting. Crossmint will now generate a new wallet for the user who completed our course and then mint an NFT to that wallet. You can view this NFT that was minting by going here - crossmint.com/signin and logging in with your email address(this is the email you minted the NFT to) directly.
Once you login, you should be able to view the NFT that we just minted. It should like this
4.4: Testing and Publishing Our Zap
Now everyone is connecting and once anyone completes their course, our Zapier flow will be able to generate a certificate and mint it as an NFT.
To ensure that this process continues at all times, you'll need to enable this Zap. This can be done by locating the switch in the navigation bar, which is turned off by default and enabling it. Once it's enabled, the Zap will run seamlessly, allowing you to focus on other important tasks. It's important to keep in mind that this process not only saves time, but it also ensures that students receive their certificates in a timely, efficient and automatic manner.

Note: Crossmint does not send a confirmation email when delivering an NFT to an email address via the mint API. There are various ways to send an email to the people who complete your course. We have added an optional flow to show how to send an email with details to those who complete the course towards the end of Part 1 of this tutorial. Check it out if you want to learn more about how to trigger an email notification upon NFT minting.
Conclusion
We hope this tutorial has helped you get started on your journey of launching a course online and sending proof of completion certificates to your students in the form of NFTs. There are many interesting things you can do with this knowledge now.
Have doubts? Feel free to reach out to us on Twitter or Discord if you have any doubts or just want to say hi and share what you're doing with this knowledge.


