Create or register your NFT collection and start accepting payments has never been that easier. With Crossmint's NFT Storefronts you'll be able to create a hosted page with custom branding in under 5 minutes. Do you want to know how? Keep reading or guide on how to create an NFT Storefront.
Is your NFT collection ready but you don't have a webstie?
Configure a No-Code Crossmint Storefront and start selling immediately, with cross-chain and credit card payment options configured automatically.
Today we’re going to walk through the creation of a Crossmint NFT Storefront, a flexible accessory for NFT project creators looking to start selling right away without writing any web code.
It offers multiple payment options (credit card and ETH and SOL), works great on mobile and works well with just about any other tool out there.
We’ll briefly go over each of these before we show you how to configure your Storefront and get you up and selling right away.
If you’d like to follow the developer documentation, you can find it here.
Getting started with Storefronts
Set up your developer account and add your first collection
First of all, set up your Developer Account and ensure you verify your project on Crossmint. This is required to enable the Payments part of the Storefront.
- Sign up for an account by logging in at crossmint.com/console. For our test environment, login to staging.crossmint.com/console.
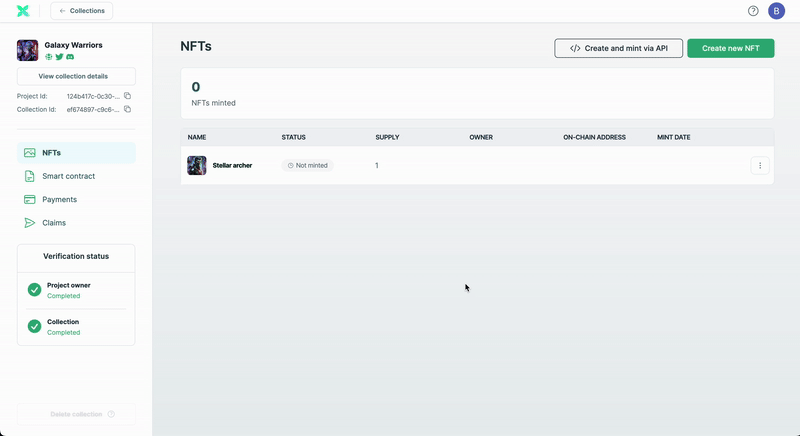
- Create your first project and go to the Collections tab to register or create a new collection.
How to create an NFT collection:
How to register an already deployed smart contract:
The contracts Crossmint supports for Storefronts are:
- Solana Candy Machine
- ERC721*
- ERC1155*
- Thirdweb (you must add Claim Conditions from the Thirdweb dashboard)
*ERC721 and ERC 1155 contracts must not contain any custom mint arguments.
Enable Your Crossmint NFT Storefront
Once you have finished the registration process or creation of your collection, you should navigate to the payments tab and proceed to verify your project and collection. Learn more about the verification process in our docs.
To create your storefront, you only need to enable the toggle and save the changes.
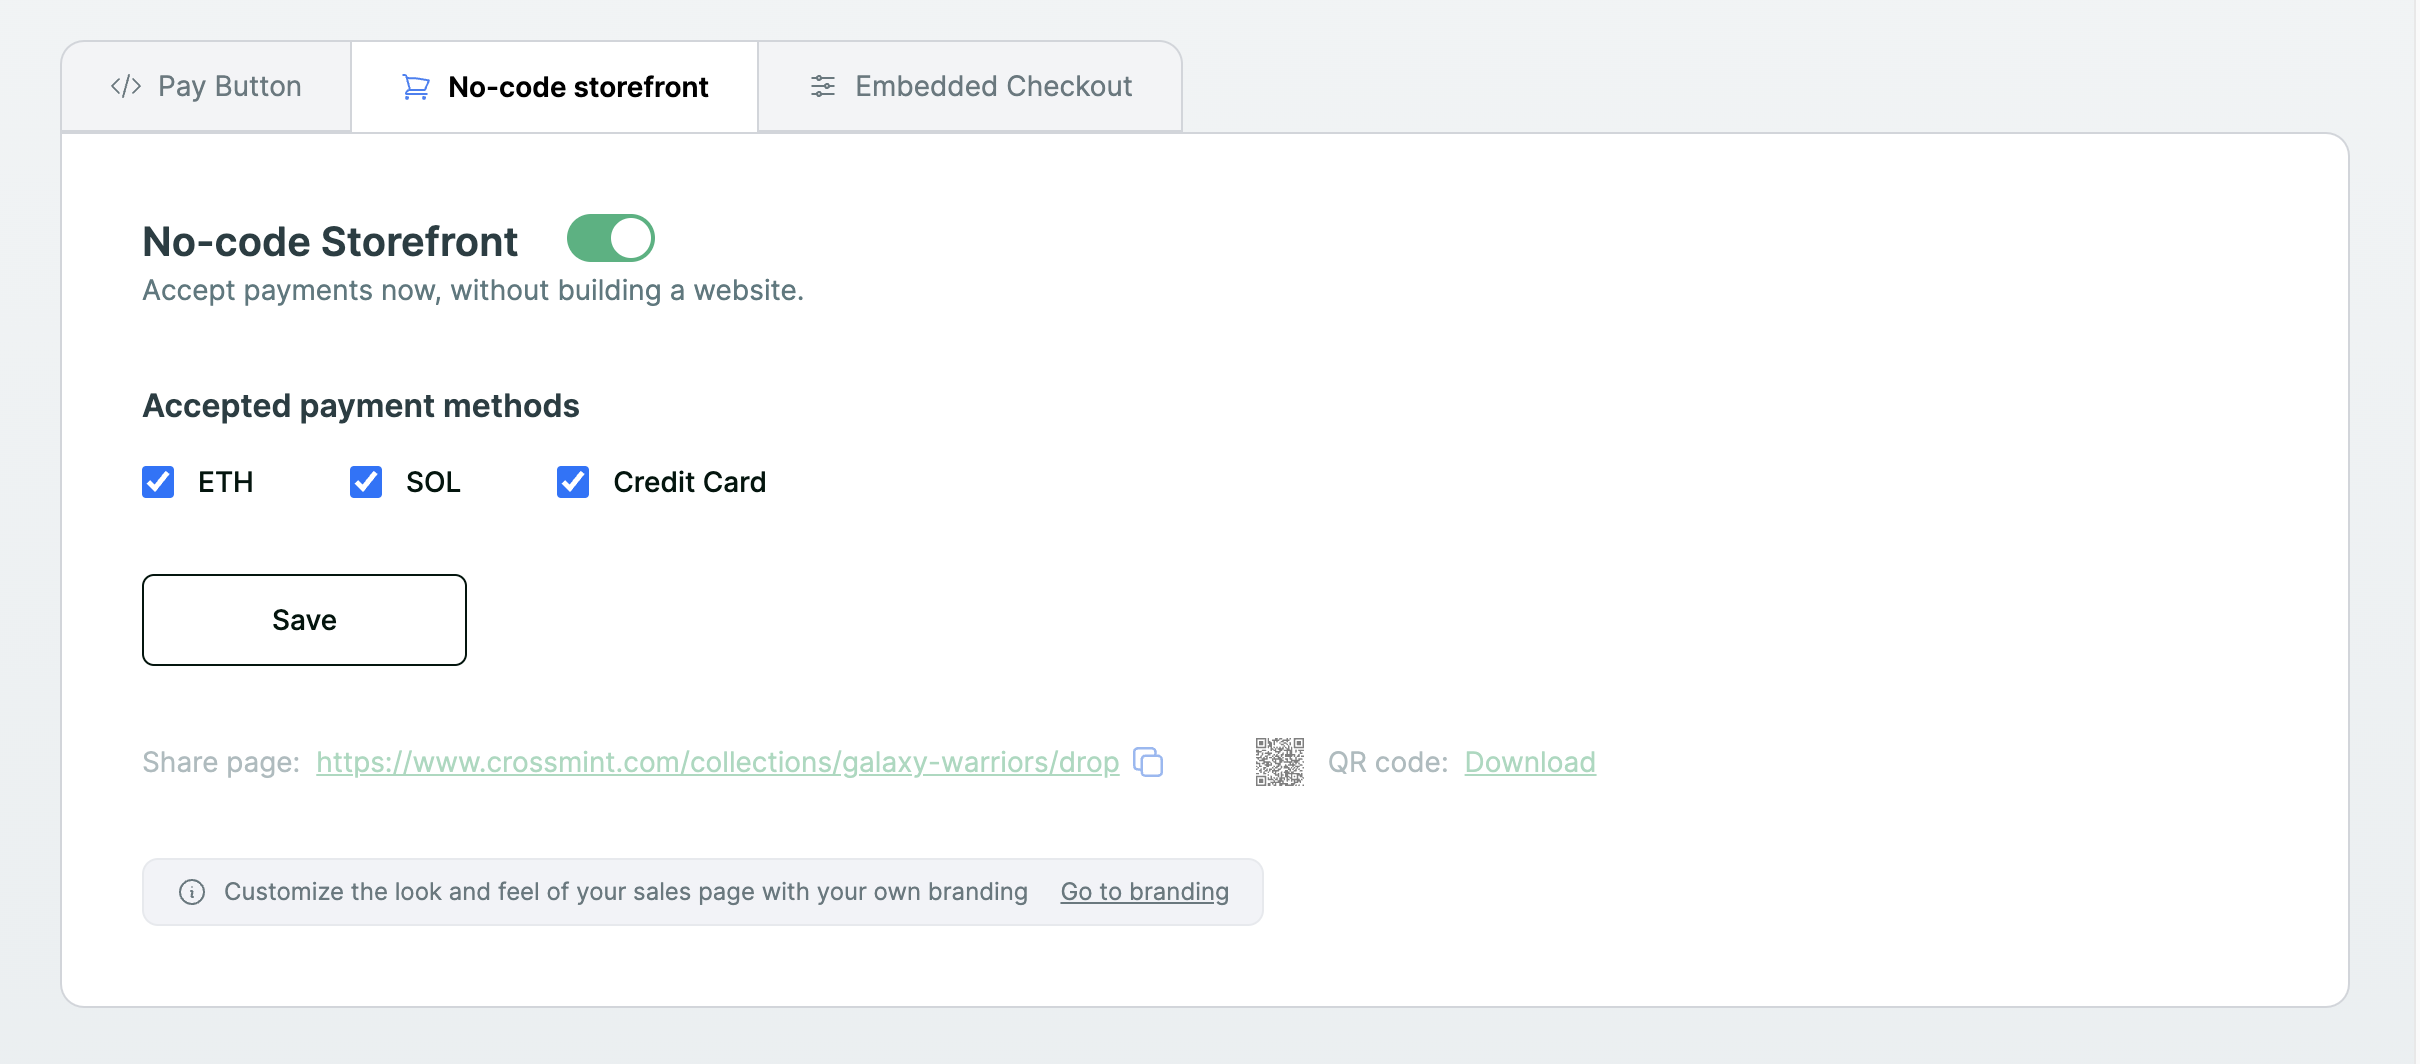
Notice it will automatically enable Ethereum, Solana, and Credit card payments. You can deselect any of these at any time, but remember, your mint proceeds will be delivered to you via the smart contract, so you’ll get your payment just like a normal mint — in the currency of the contract. You won’t deal with other crypto or fiat at all. We take care of that for you.
Preview your No-code Storefront
With the links located at the bottom of the section, you will be able to access your NFT storefront as well as download a QR code that will redirect your customers to the URL.

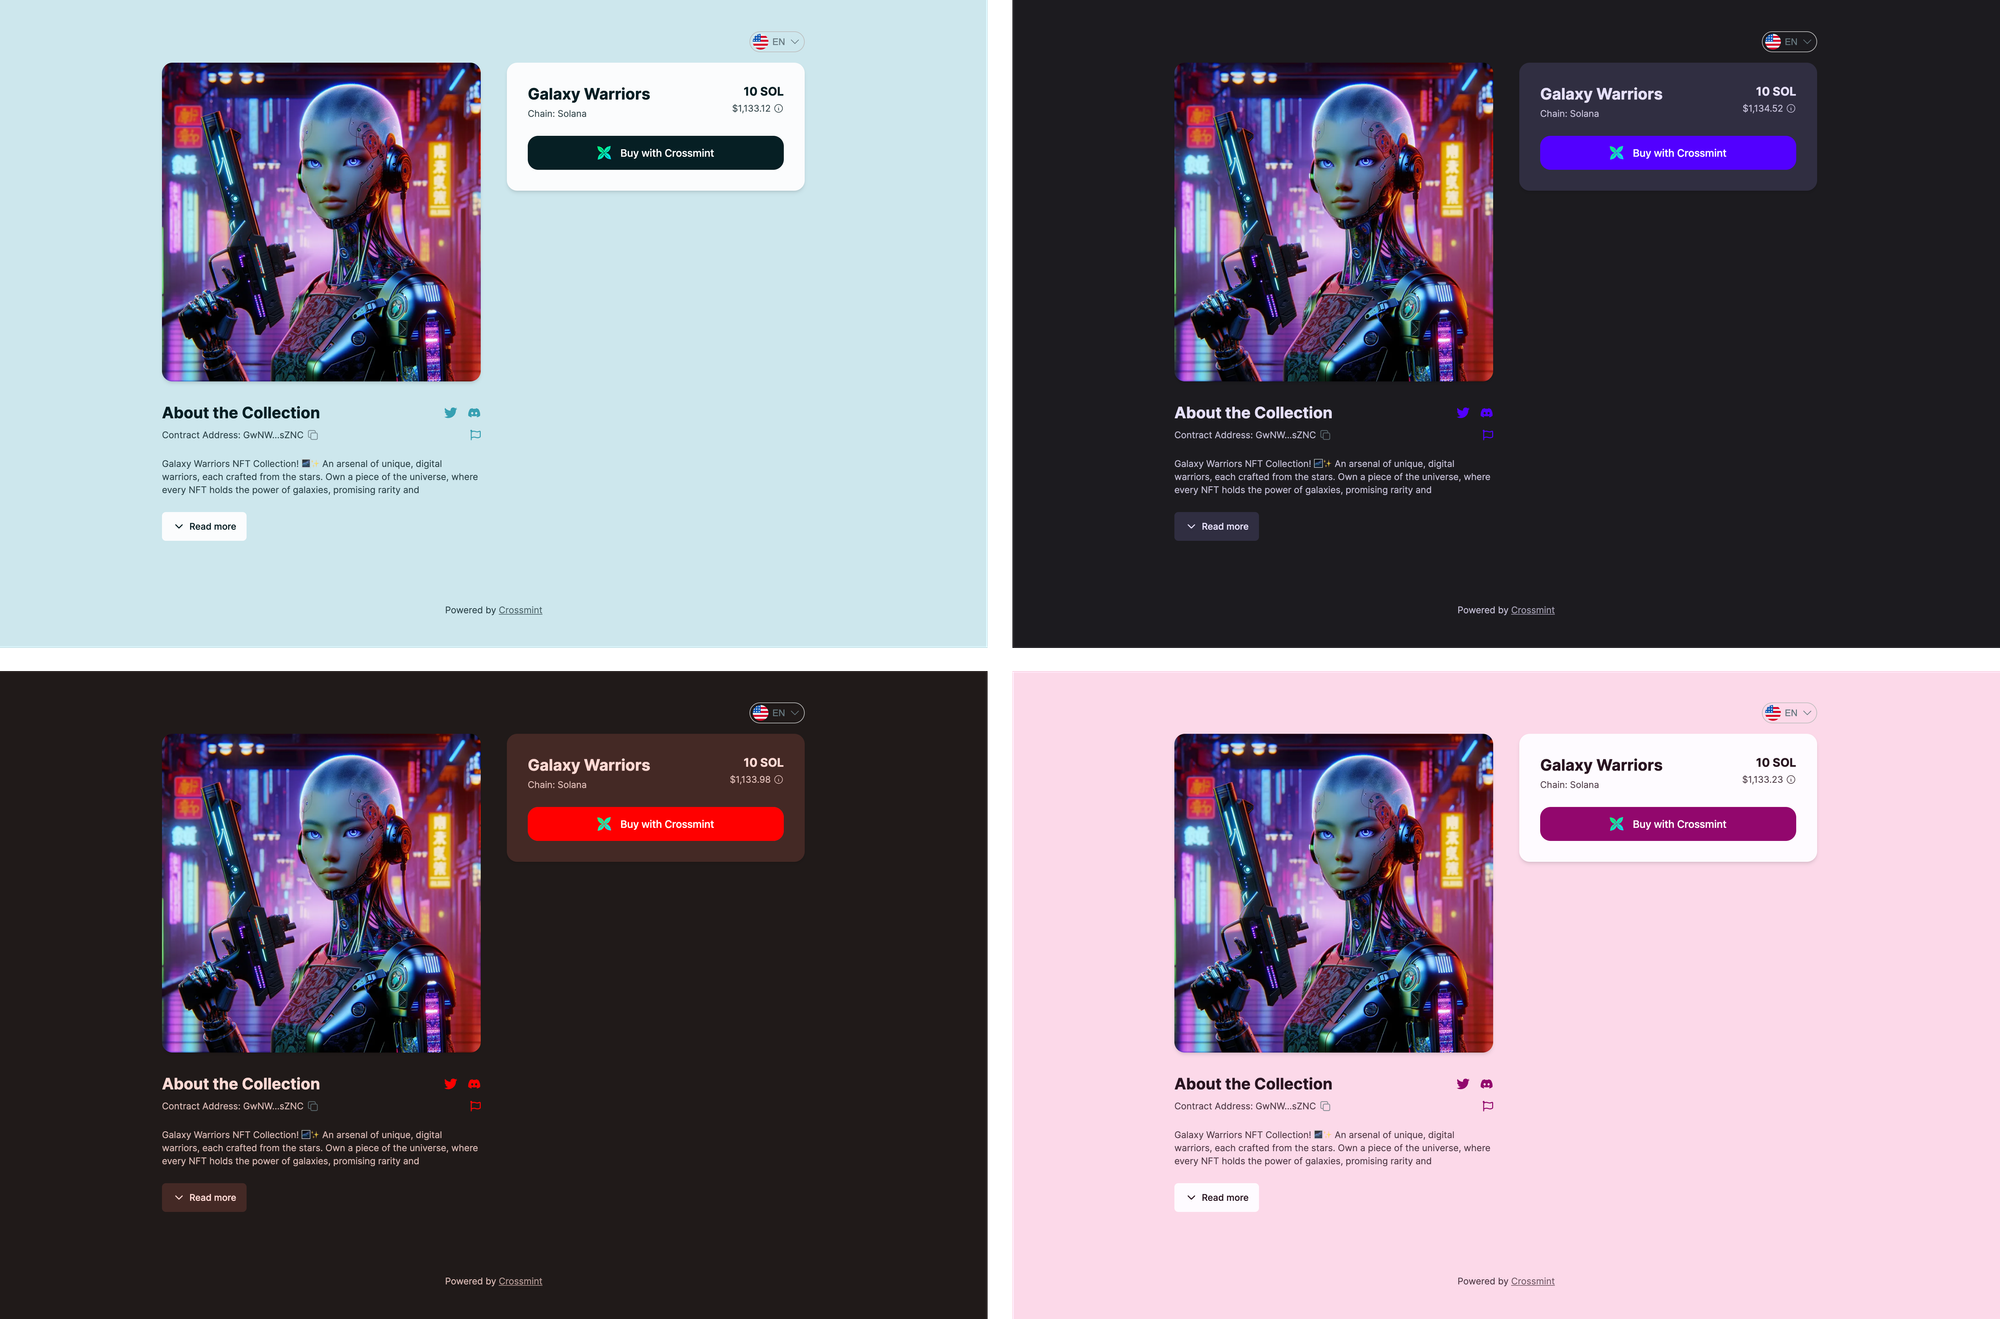
Here’s our Crossmint Storefront. You’ll see the image we used, the title, the chain (we did a Solana test version in Staging), the description, and multiple payment options to make it easy to buy your NFT.
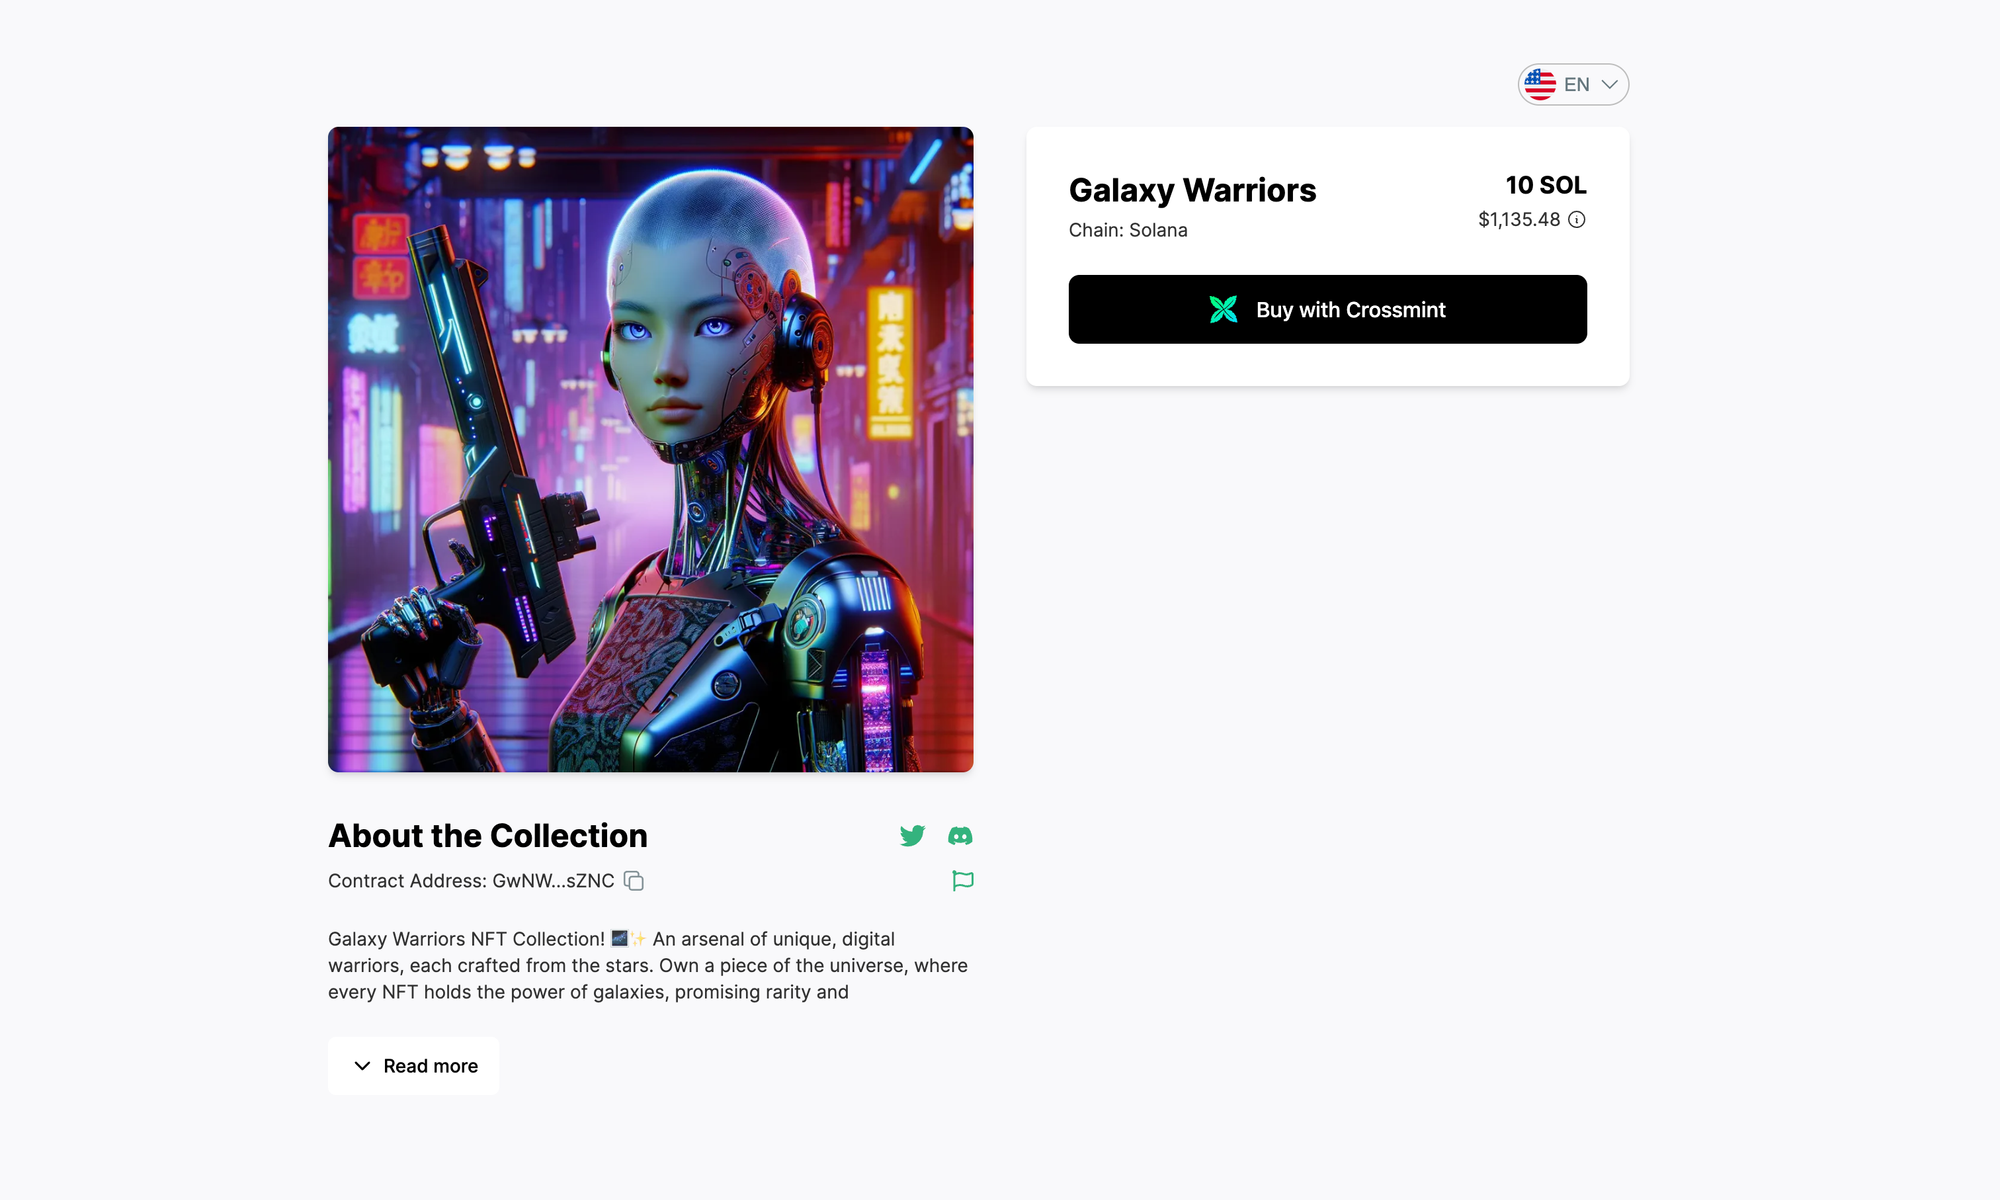
It looks a little boring. Let’s go change it up and make it more attractive.
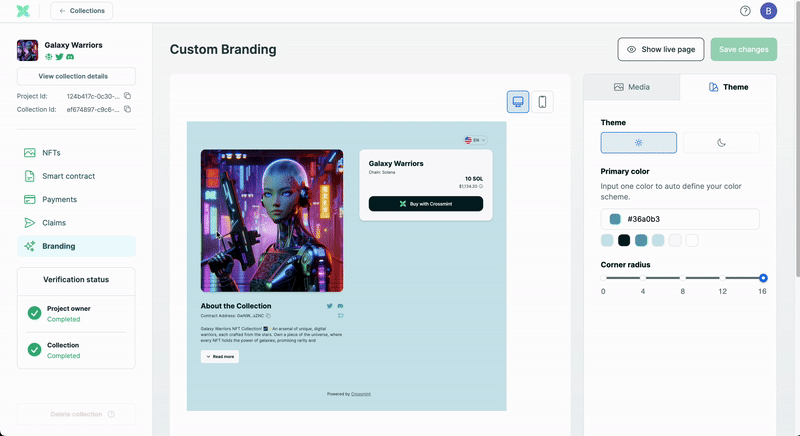
Add custom branding to your NFT Storefront
Now is time to modify the theme of your storefront.
If you have correctly completed the previous steps, a new tab called "branding" will appear in the sidebar. Go to it to access the customization tools.
- You can change the theme to light or dark mode.
- You can change the primary color of the site
- You can smooth the edges of the corners to fit your liking
As you change it up, you can revisit the live page to see how it looks!

Check out your live Storefront
That looks beautiful. We’re almost done—just one more feature to show you.
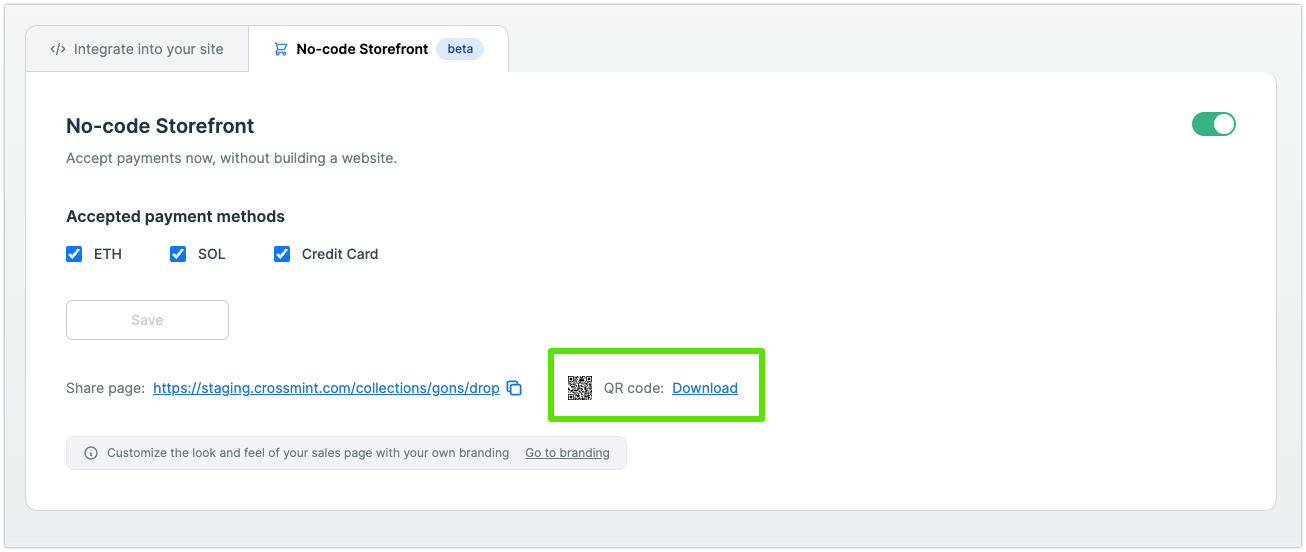
Navigate back to the Dev Console and to your No-code Storefront Page settings.
You have an option to view & share a QR code.
Share your QR Code
The QR code links directly to your Storefront and can be printed or shown on your phone so you can sell your NFTs anywhere.
Now you are ready to start selling your NFTs with the best NFT Checkout of the industry.
Related contents: