Guides
How to Create a No-Code NFT Prepay Site

No-Code Solution to Accept Payments Before Mint Day

Sell your NFTs before your mint even goes live

Share:
how-to-create-a-no-code-prepay-site-for-your-nft-mint

What is Crossmint Prepay, and how will it benefit my NFT buyers?

Web3 moves fast. Wondering how to market your NFTs amidst the endless torrent of other projects and breaking news, all vying for attention?

What if you could get your project out there and sell your NFTs before you’ve done any engineering work? You can, with Crossmint Prepay: the easiest way to set up an NFT checkout experience for your buyers.

Crossmint Prepay is a no-code service that enables payment capture for your NFT collection before mint day, allowing you to sell your NFT collection before you even have a contract deployed. It’s a great way to promote NFTs without requiring buyers to show up at an inconvenient date and time. Let your community members and VIPs in the doors early so they don’t have to wait!

How does Crossmint Prepay work?

After you, the seller, have created your Prepay page within our Self-Service Developer Console, you can share the link to the page with your community to promote your NFTs and sell your NFTs. Members can pay with a with credit card or cryptocurrency before you even have a contract deployed.

Example: https://www.crossmint.io/collections/fir-tree/prepay

Crossmint tool for NFT prepay
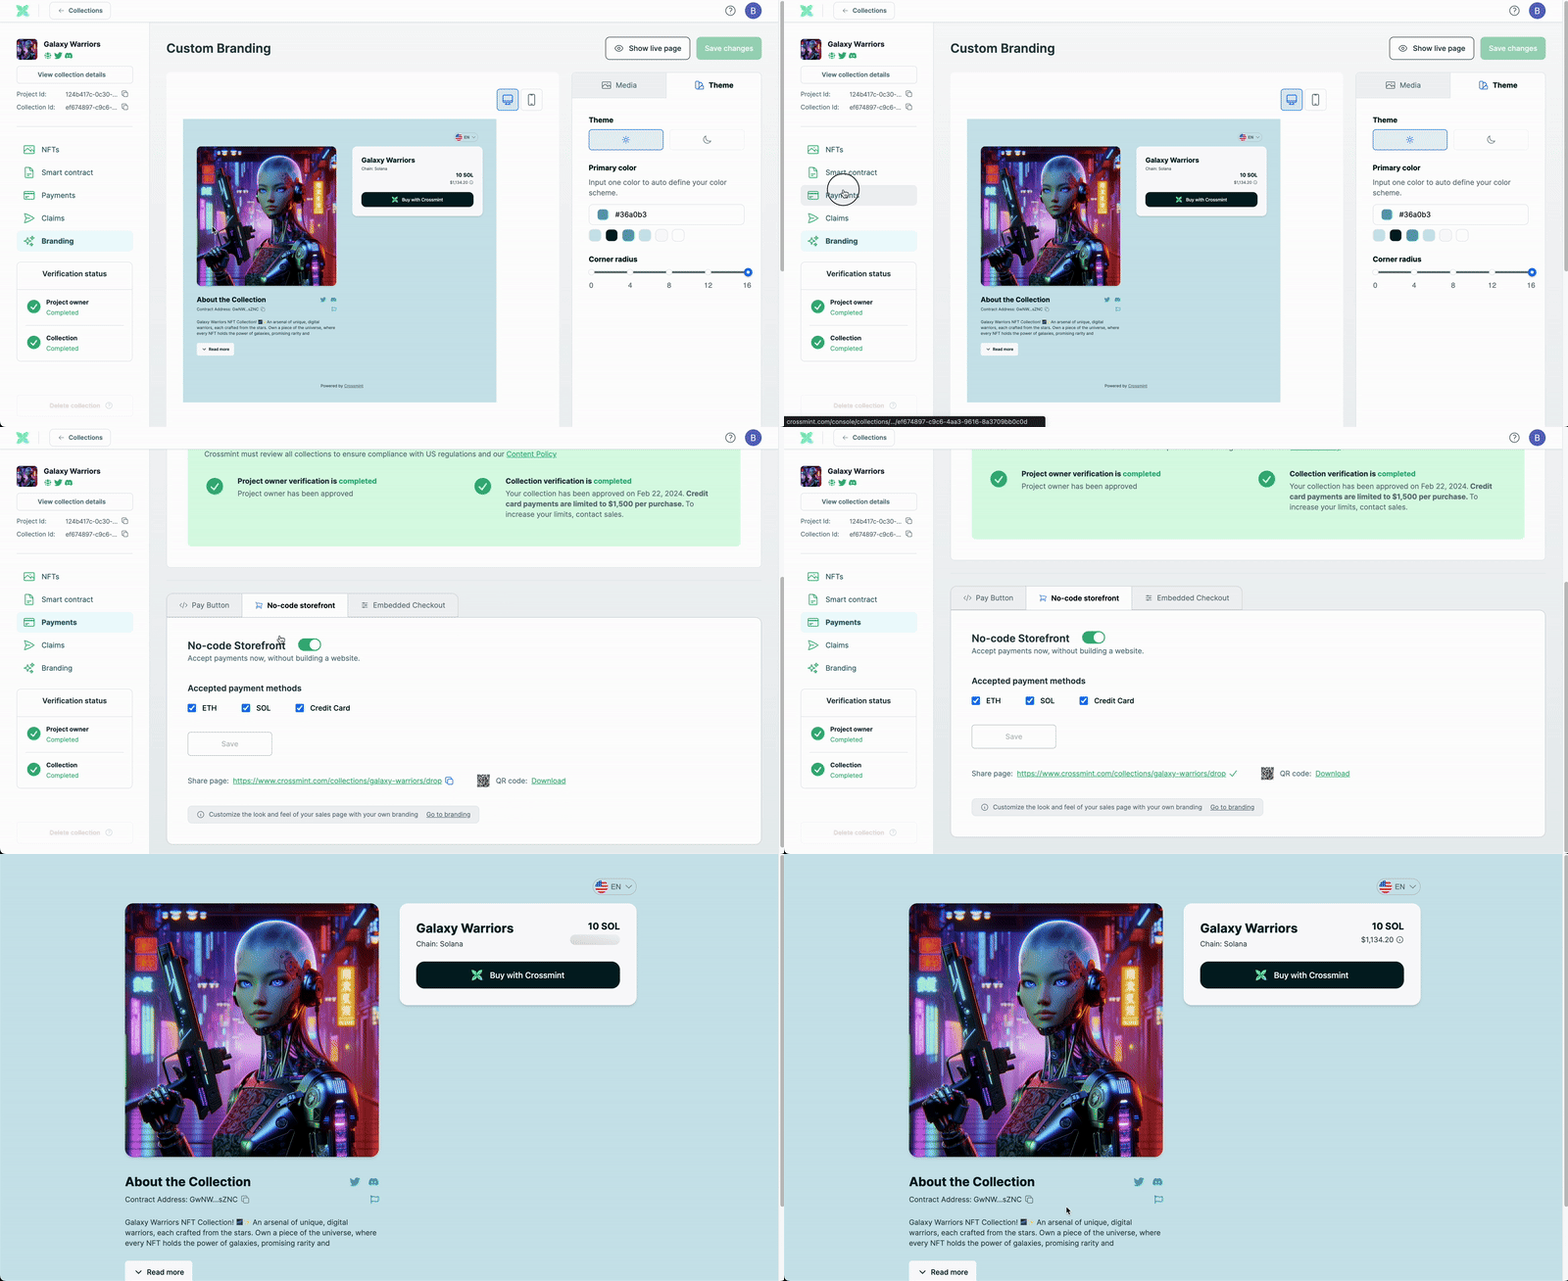
An example of a Crossmint Prepay hosted page.

Customers click the buy button on the page and pay using their credit card or crypto (crypto Prepay support coming soon). You can watch payments happen live on your Prepay console page. When the prepay phase is over, or all allotted NFTs are sold, you can close your prepay page and deliver NFTs to your buyers.

Things to know:

  • Crossmint fees are not collected from buyers’ payments but rather collected in a lump sum upon Prepay closure.
  • Prepay funds will be disbursed once all NFTs are delivered, minus fees.
  • Funds can be delivered in crypto or fiat, via wire or stablecoin.

How do you set up a Crossmint Prepay page?

Set up a Crossmint Developer Console account

Navigate to our Self-Service Developer Console at https://staging.crossmint.io/console (staging) or https://crossmint.io/console (production) and sign up or login.

Crossmint developer console
The Crossmint Self-Service Developer Console.

Create a collection

  1. Navigate to the Collections tab.
  2. Create a collection or select an existing collection.
  3. You can add Prepay to an already-registered NFT collection within Crossmint.
  4. This is useful if you’ve already configured your collection for other Crossmint products, such as Pay with Credit Card.
  5. Enter your Collection Name and the chain it’s on.
  6. Collection Image URL and Description are optional.
  7. You can always update them in the Collections tab later.
Register a nft collection with Crossmint
An example of the completed collection registration modal.

Now you should see your Collection details screen.

Crossmint NFT collection details
An example of a populated Collection details screen.

Configure your collection’s Prepay page

  1. On the Collection details screen, click the "Prepay" solution in left side navigation.
  2. Configure your prepay settings: number of NFTs available for prepay, airdrop date, url for the signup page, price.
Create your NFT prepay page
A completed Prepay configuration page.
  1. Under Confirmation Email, ensure you’ve configured information for buyers indicating how they will receive the NFT.
  2. NFT delivery is defined by the project. You can communicate it in whichever way you see fit.
  3. We’ve included a default email here with three steps, but you can customize this.
  4. This is also good information to include on the prepay page itself, under the details list.
  5. Airdropping NFTs will need be done by the project. This is not automatic at this time.
NFT prepay launch instructions
The Confirmation Email section can be customized to inform buyers how they will receive their NFT.

How do I customize the details list?

  1. On the Prepay setup page, scroll down to Branding.
  2. Click Customize.
  3. Here, you can add details such as Title, Subtitle, Prepay details list (this is a good place to set expectations for delivery of your NFTs), CTA or Call to Action text that is added on the button itself.
  4. Click Save Changes.
Branding for you NFT prepay page
The customization option for prepay pages.
NFT Prepay page details
An example of a customized Branding section of the Prepay page configuration. This info helps you promote NFTs and sell NFT collections via Crossmint’s early NFT checkout, enabling customers to buy your NFT with credit card or crypto.

This info helps you promote NFTs and sell NFT collections via Crossmint’s early NFT checkout, enabling customers to buy your NFT with credit card or crypto.

Ready to go live?

Ensure you enable the prepay solution using toggle button. You can disable the prepay page at any time.

enable nft prepay page
The Enabled/Disabled toggle can be switched at any time.
  1. Click save — the save button will become active when all required fields are filled out.
  2. Read and agree to the Prepay terms of service, and click "Create Prepay"
  3. Your page will be live!
Prepay terms of service
Prepay terms of service must be accepted before going live.

Here’s your new hosted Crossmint Prepay page.

Prepay for your forest NFT
An example of a live Crossmint Prepay page.

After your Prepay page goes live

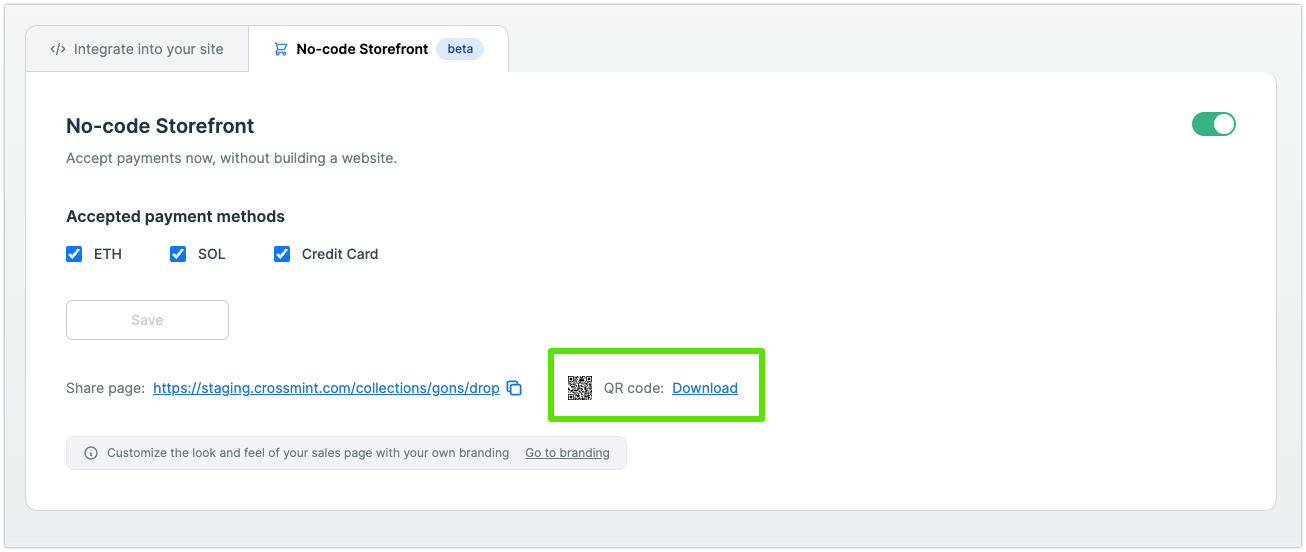
You can share the URL with your community, however you like, and enable them to buy your NFT early. Once the sales start coming in, you can monitor them within the Developer Console.

This hosted prepay page is also a useful tool for gauging interest because you can see how many prepays you have before mint day.

Completed prepays
Watch as prepay purchases come in live in the Prepay section of your Collection.

At the end of your sale, deliver your NFTs to your customers.

Get your Prepaid funds

And then, you’ll probably want to know how you get paid. So how do you receive your prepay funds?

Payment Information
Watch for an email sent to the developer account under which the Collection’s Prepay was configured.

Our team will reach out to the developer account email for payments after the drop to arrange payment and settle funds.

We typically send prepay proceeds via wire, but you can request payment in stablecoin as well.

To close your Prepay page

So once you’ve configured your Prepay page, note that you can disable it at any time. Navigate to your collection’s Prepay page and click the toggle under Prepay Status. This will change it from Enabled to Disabled and will close your Prepay stage. You can reenable it as needed.

prepay-status
Prepay has been disabled, closing the live Prepay page.
NFT prepay page by Crossmint
A live Prepay page has been closed.

A few suggestions to make Prepay as smooth as possible

Here are some things to keep in mind to make this as smooth as possible for you and your community:

  1. Select a mint date and stick to it. During the prepay your buyers will see the date they can expect to be airdropped the NFT they are prepaying for. When projects move the date it can confuse buyers and lead to frustration. We understand dates need to be moved in some situations and can support you, but encourage you to do so with care and communicate this to your community.
  2. You will need to airdrop the NFTs to the buyers on the date of the mint. We will coordinate with you to close the prepay site and deliver the user's Crossmint wallet addresses so that you can airdrop to them.
  3. Once we have confirmed that the airdrops have been completed, we will initiate the funds transfer to your project (typically within 24-48 hours). We can support standard bank transfers or send you USDC.
  4. The fees for prepaying are taken out of the amount charged to the buyers. This is different than our minting product where the fees are added on top of the NFT cost. Please keep this in mind as you select your prepay price.

A few things to watch out for

Now, here’s a few things to look out for when creating a prepay page:

You’ll need to make sure you’ve verified your project (not collection) before you can go live with a collection’s prepay page. Crossmint allows you to have multiple projects under your account. And each project can have multiple collections. To verify, go to your Project page, or click Verify project, and follow the prompts.

If you didn’t add a Collection Image URL or Description right away when you created your collection, you can still edit it. Navigate to Collection Details in the sidebar. Here, you can add and edit your collection info.

And that’s how you configure Crossmint Prepay, a no-code way to start capturing payments before you even write one line of code.

If you have more questions about Crossmint Prepay or wish to learn more about our NFT tools and developer tools supporting NFT infrastructure, payments, minting, and wallets, check out our documentation.